Sheet Mulching is like a Band-Aid Over an Infection – Your Step by Step Guide to Fail-Proof Soil Prep
December 6, 2019
If you’ve dipped at all into permaculture, you’ve heard of sheet mulching. A technique for prepping weedy ground for planting, sheet mulching uses layers of cardboard, leaves and other organic debris. The promise is that weeds will be killed while enriching the soil with organic matter. There’s some truth to this promise, but the whole thing falls apart if you don’t address what’s growing in the dark under those layers like an infection.
Controversial as it may be in “no dig” garden clubs, I’m here to tell you, sheet mulching doesn’t work. I don’t know if we in the Pacific Northwest are just blessed with a particularly rampant weed load or if every region has thugs among it’s weed populations, but I do know that if you want a successful new planting of any kind, you have to eliminate the tenacious weeds first.
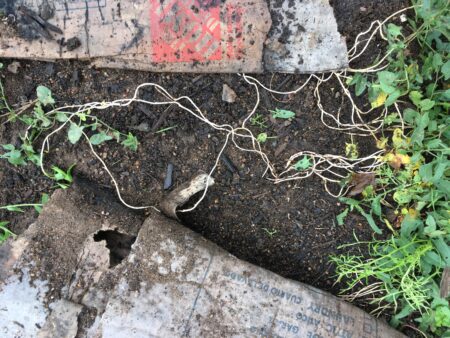
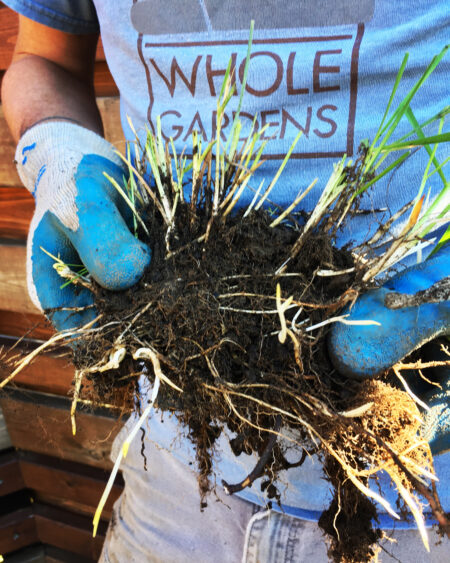
The most ubiquitous weed is quackgrass. You’ve met this foe if you’ve gardened at all in the Willamette Valley. Known by it’s white rhizomes that creep underground and insinuate themselves into lawns, garden beds and, yes, decomposing cardboard, quackgrass is epidemic. When you plant into a sheet mulched bed, your new babies are doomed. Quackgrass spreads into the root crowns and, in a couple seasons, your bed is a mess of grass again. Equally undeterred by sheet mulching practices are other persistent weeds; bindweed, Canada thistle, dandelion, and arum come to mind.
What, then, does work? You don’t want to use round up, because, well, it’s gross and not in line with your ethics. (Unless, it is, then you can stop reading here. We’re probably not a good match for each other.)
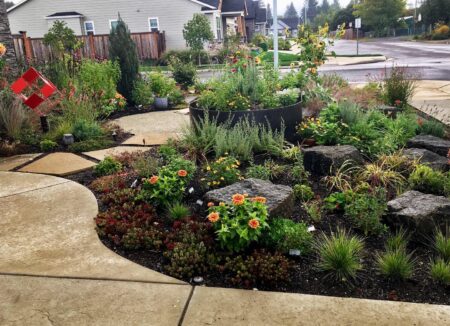
How do you get from weedy, unproductive, habitat-poor lawn to lush, low-maintenance, wildlife-friendly garden?
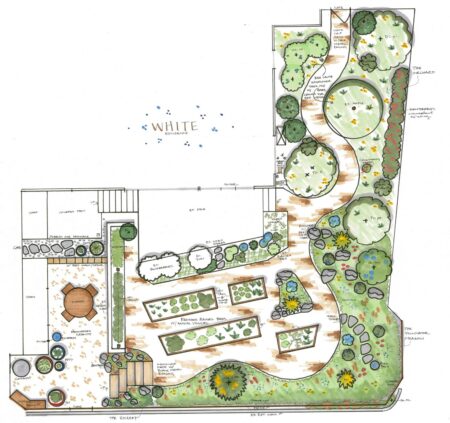
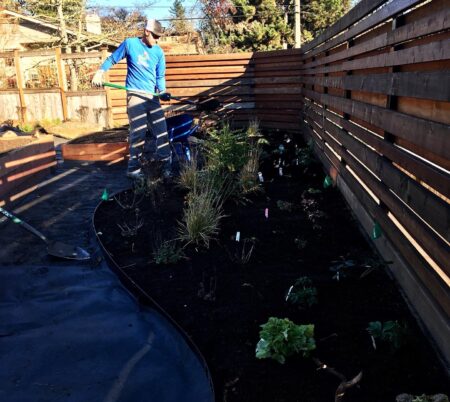
After making new gardens professionally for the past 20 years, we’ve got a fail-proof method for you. Most of our projects include replacing lawn with more bio-diverse and beautiful plantings. If you want to do this yourself (please do! We need more gardens and less lawn!), here’s how to prep your soil like a pro:
1) Make a plan! Even if you don’t have a professional landscape design, you need to know where you’re headed before you start. Will your new planting bed share a border with lawn? Yes? Then you’ll need to plan for how you’ll keep the quackgrass rhizomes from spreading back into the bed from the lawn. Black metal edging is my favorite solution. It’s subtle and sophisticated-looking and also effective at maintaining your desired bed shape and guiding your future weeding efforts. What will you plant in the new bed? After prepping the soil, it’s best to follow right up with planting so your soil doesn’t stay exposed like a welcome mat for new weeds to sprout. Besides, it’s so much more interesting to hand weed whatever does sprout from amidst
some new little green loves than to weed a bare dirt expanse!
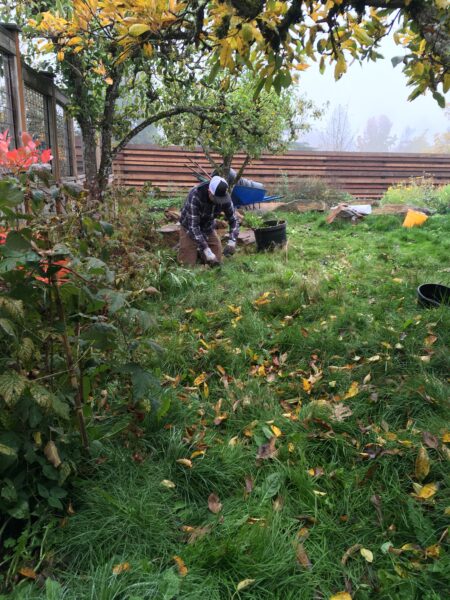
2) Weed out the taproots. Dandelions, thistles, and yellow dock are some of the more common tap-rooted weeds you’ll see in your lawn. These guys will sprout from any broken bit of their root, so you’ll want to get out your hori hori (aka digging knife) and plunge down as deep as you can to get them out first. If you’re so inclined, you can eat or make medicine out of those lovely roots.
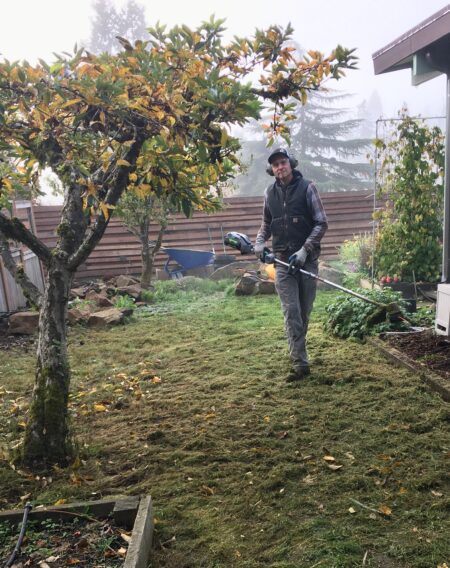
3) Mow the lawn as short as possible. Or use a string trimmer if you’ve let it get too wild for the mower. This makes it so much easier to do the next step.
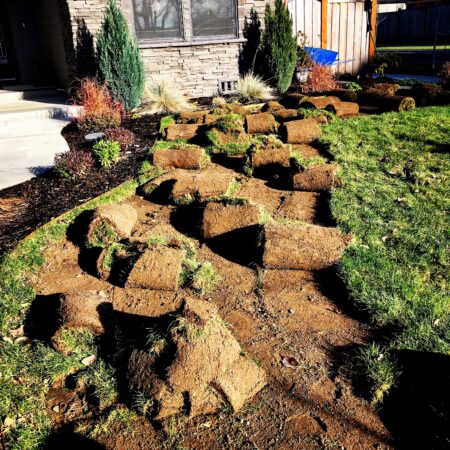
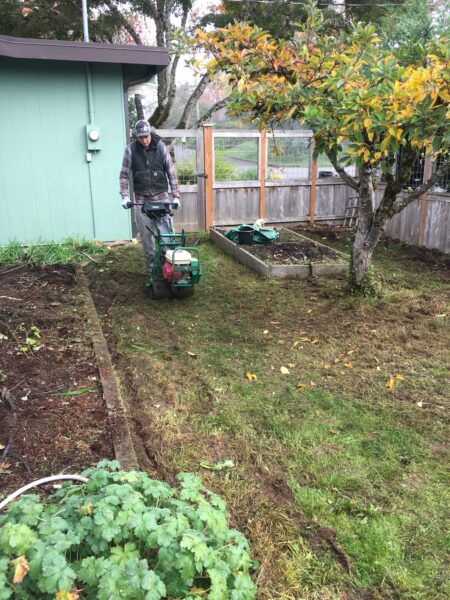
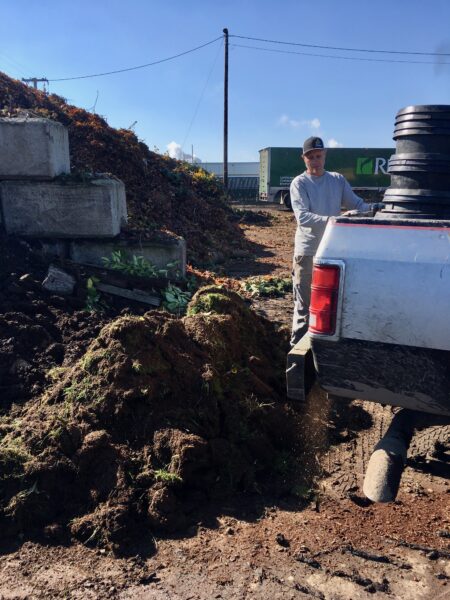
4) Cut the sod, roots and all. Head on down to your local rental shop and pick up a sod cutter. These machines are heavy and awkward, so make sure you stretch first and engage your core to prevent injury. It may take a bit of experimenting to get the depth set just right. You’re looking to get the roots out (especially those white quackgrass rhizomes) without going overly deep. If your lawn is dry, you’ll have way more fun with this! Roll up the sod and haul it away to a facility that accepts fill material (Lane Forest Products or Rexius here in Eugene). Don’t be too concerned with shaking the soil off the roots. You’re going for bulk action here to get the weeds out and, yes some soil too. Not only are roots in this top layer, there’s also a lot of weed seeds waiting for an opening to claim. Get it all out! Keep in mind, if done well, this is a one time thing. You’re not going to have to do it again, so don’t fret about losing a bit of topsoil. In the balance of things, you’re creating a whole lot more biodiversity and habitat with your new, weed-free planting than that lawn ever offered.
5) Follow up with a hoe and your keen eye. The sod cutter won’t get the edges and there’ll be some spots where it cut a little too shallowly. Look closely and scrape it all bare. We joke about land scraping mow and blow outfits all the time. This is the one and only time you’ll hear me tell you to scrape! After planting, no scraping allowed!
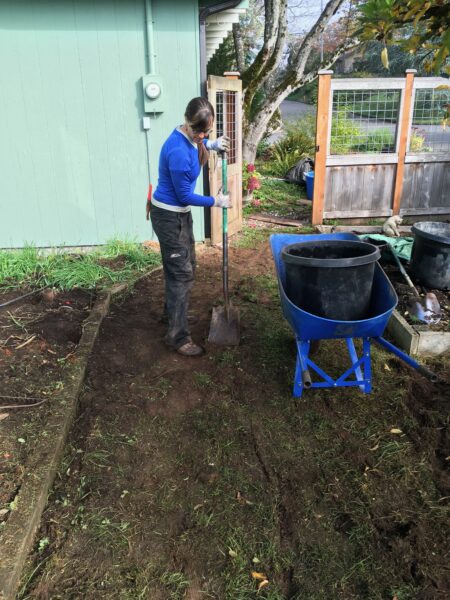
6) Amend the soil. Once you have completely bare ground, you can bring in whatever soil amendment is appropriate for your new planting. Typically we use a low fertility, compost-enriched loam. There are two goals here: (1) amending the soil with some organic matter to encourage good soil health and microbiology, and (2) raising the grade of the area according to your new landscape plan. This means that the depth of your amendment might be as little as an inch or much more if you’re terracing or otherwise changing the existing grade. Note that I don’t suggest tilling. It’s unnecessary and can create a hard pan layer as well as bring weed seeds to the surface.
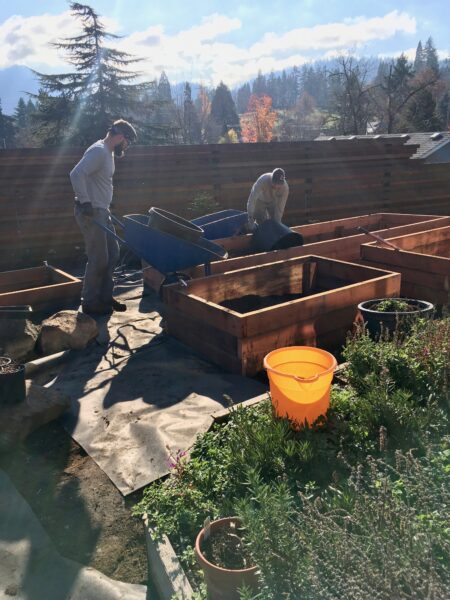
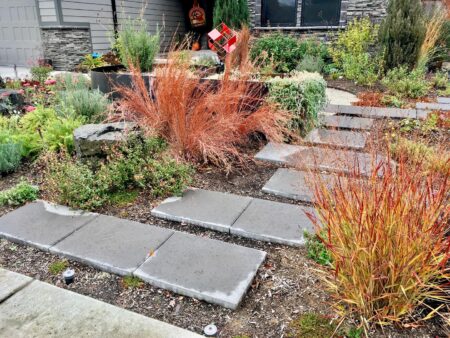
7) Plant! Yes! The fun part. You’ve done all the hard work to prepare your beds and now you you get to add your new plants with confidence that they’ll grow for years without succumbing to infectious weeds. As you dig the holes, keep an eye out for any more quack grass rhizomes that may be lurking deeper and get them outta there. And if you spy any little sprouting grass or dandelion, get that, root and all.
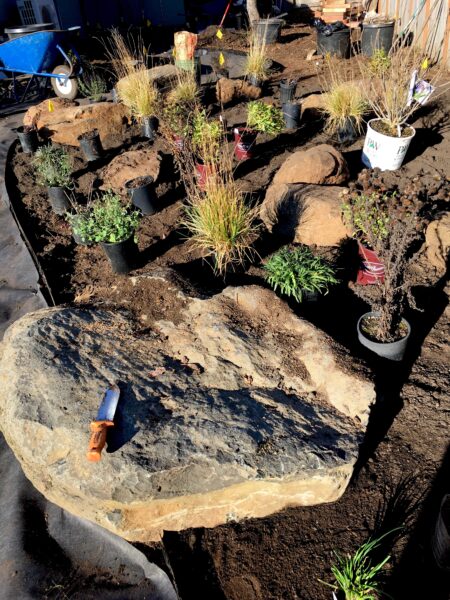
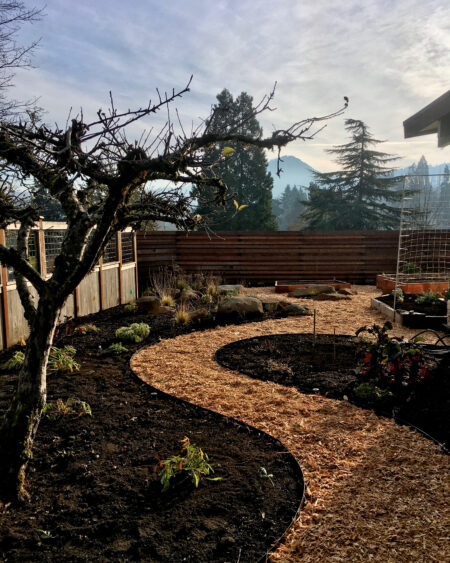
8) Spread mulch. A couple inches of compost tucked in around your new plants is like a magic carpet. It looks beautiful, suppresses weed seeds, adds organic matter, protects the soil from erosion, retains moisture and more. But only if you use a composted mulch. Bark mulch repels water and takes nitrogen form the soil as it decomposes. Compost or leaf mold are what you want.
The most important thing for a young planting in it’s establishment phase is to keep it weed-free. If you’ve prepped the site well and planted a good mix of ground covering plants, soon, there’ll be no place for a weed to get a foothold. Then, you can sit back, enjoy your handiwork and bask in the beauty of your garden.
This is great Leslie and Aaron! It caught my eye on your Instagram feed. At work we tell lots of people about sheet mulching so I’ll be rethinking that. Especially when they have lawn to start with. Miss you guys! Nicole
Hi Nicole! Thanks for reading. Where are you working now? Sheet mulching does have it’s place, just not where there’s quackgrass or other persistent weeds and you’re wanting to establish a new, more bio-diverse planting. Knowing what you’re starting with is key! Miss seeing you in the neighborhood, too! Much love to you and your family!
Thank you for this! I live in the midwest and have a couple areas I want to convert from weed heavy lawn (almost no grass) to a mulched pathway with steppers. Would I still have to enrich the soil after removing the weeds/grass or could i just put the mulch down and call it good since i’m not planting anything? Thanks!
Hi Carrie,
If you’re just making a path, no, you don’t want to amend the soil. Instead, put down a heavy duty landscape cloth with staples after clearing the ground and add your path material on top of that. The cloth will prevent earthworms from cycling soil and weed seeds up into your new path materials. Typically we excavate a few inches down first to allow for a good depth of new path material.